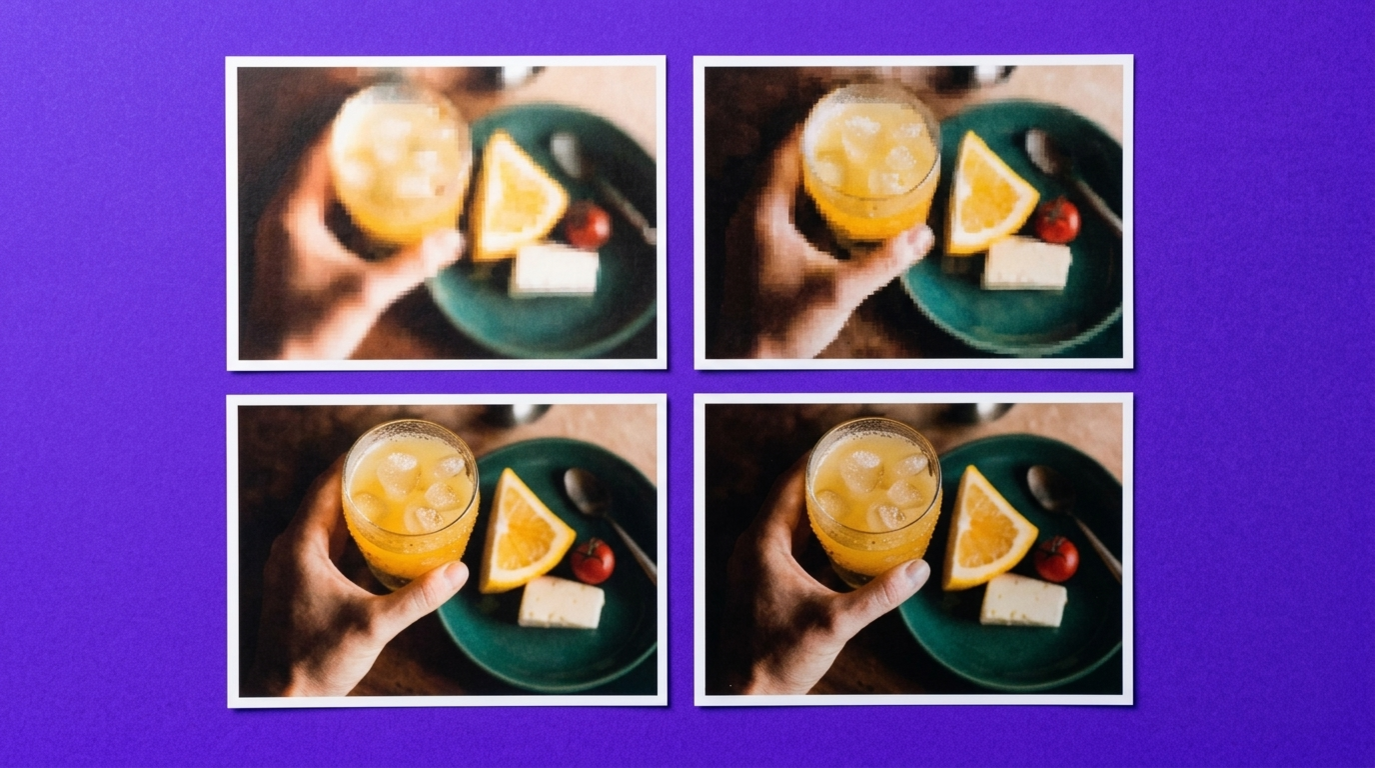
An image upscaler makes your photo bigger without changing what's in it, while an image enhancer makes it better by redrawing detail, clearing noise, and sharpening what was soft.
If your photo is clean but too small, upscale it. If it looks blurry, grainy, or smudged at the size it already is, you need an image enhancer.
The two get confused because most tools sell both under the word "quality," and many AI image enhancers upscale as part of the job. They solve different problems, though. Pick the wrong one and you end up with a larger, blurrier copy of the photo you started with.
What an image upscaler does
An image upscaler increases the pixel dimensions of an image. A 1,024 × 1,024 photo becomes 2,048 × 2,048 or 4,096 × 4,096, and the upscaler's job is to fill the new pixels so edges stay clean instead of turning soft or blocky.
Classic resizing in an image editor averages neighboring pixels, which is why enlarged photos look smeared. AI upscalers predict the missing pixels from patterns learned in training, so lines, text, and hard edges hold up far better at two to four times the original size.
What an upscaler doesn't do is improve the photo itself. Noise, motion blur, and JPEG artifacts get enlarged along with everything else, often more visibly than before. That's the point, not a flaw: when a product shot is headed for a poster, a logo for a banner, or an approved image for a large print, you want the same image, only bigger.
What an image enhancer does
An image enhancer changes the image to make it look better at any size. Depending on the tool, that means reducing noise and grain, recovering sharpness from soft focus, removing compression artifacts, adjusting contrast and color, and redrawing fine detail like hair, fabric, skin, and lettering.
AI image enhancers work generatively. Instead of sharpening the pixels that are there, they re-render the image and draw new detail where the original had none. That's how an enhancer turns a smudgy face into a clear one, and it's also why the result is an interpretation: the new detail is plausible, not recovered.
Many enhancers also output at a higher resolution, which is where the overlap with upscalers comes from. So the useful question isn't how big the output is. It's whether the tool is allowed to change what's in the picture.
The same photo, upscaled and enhanced
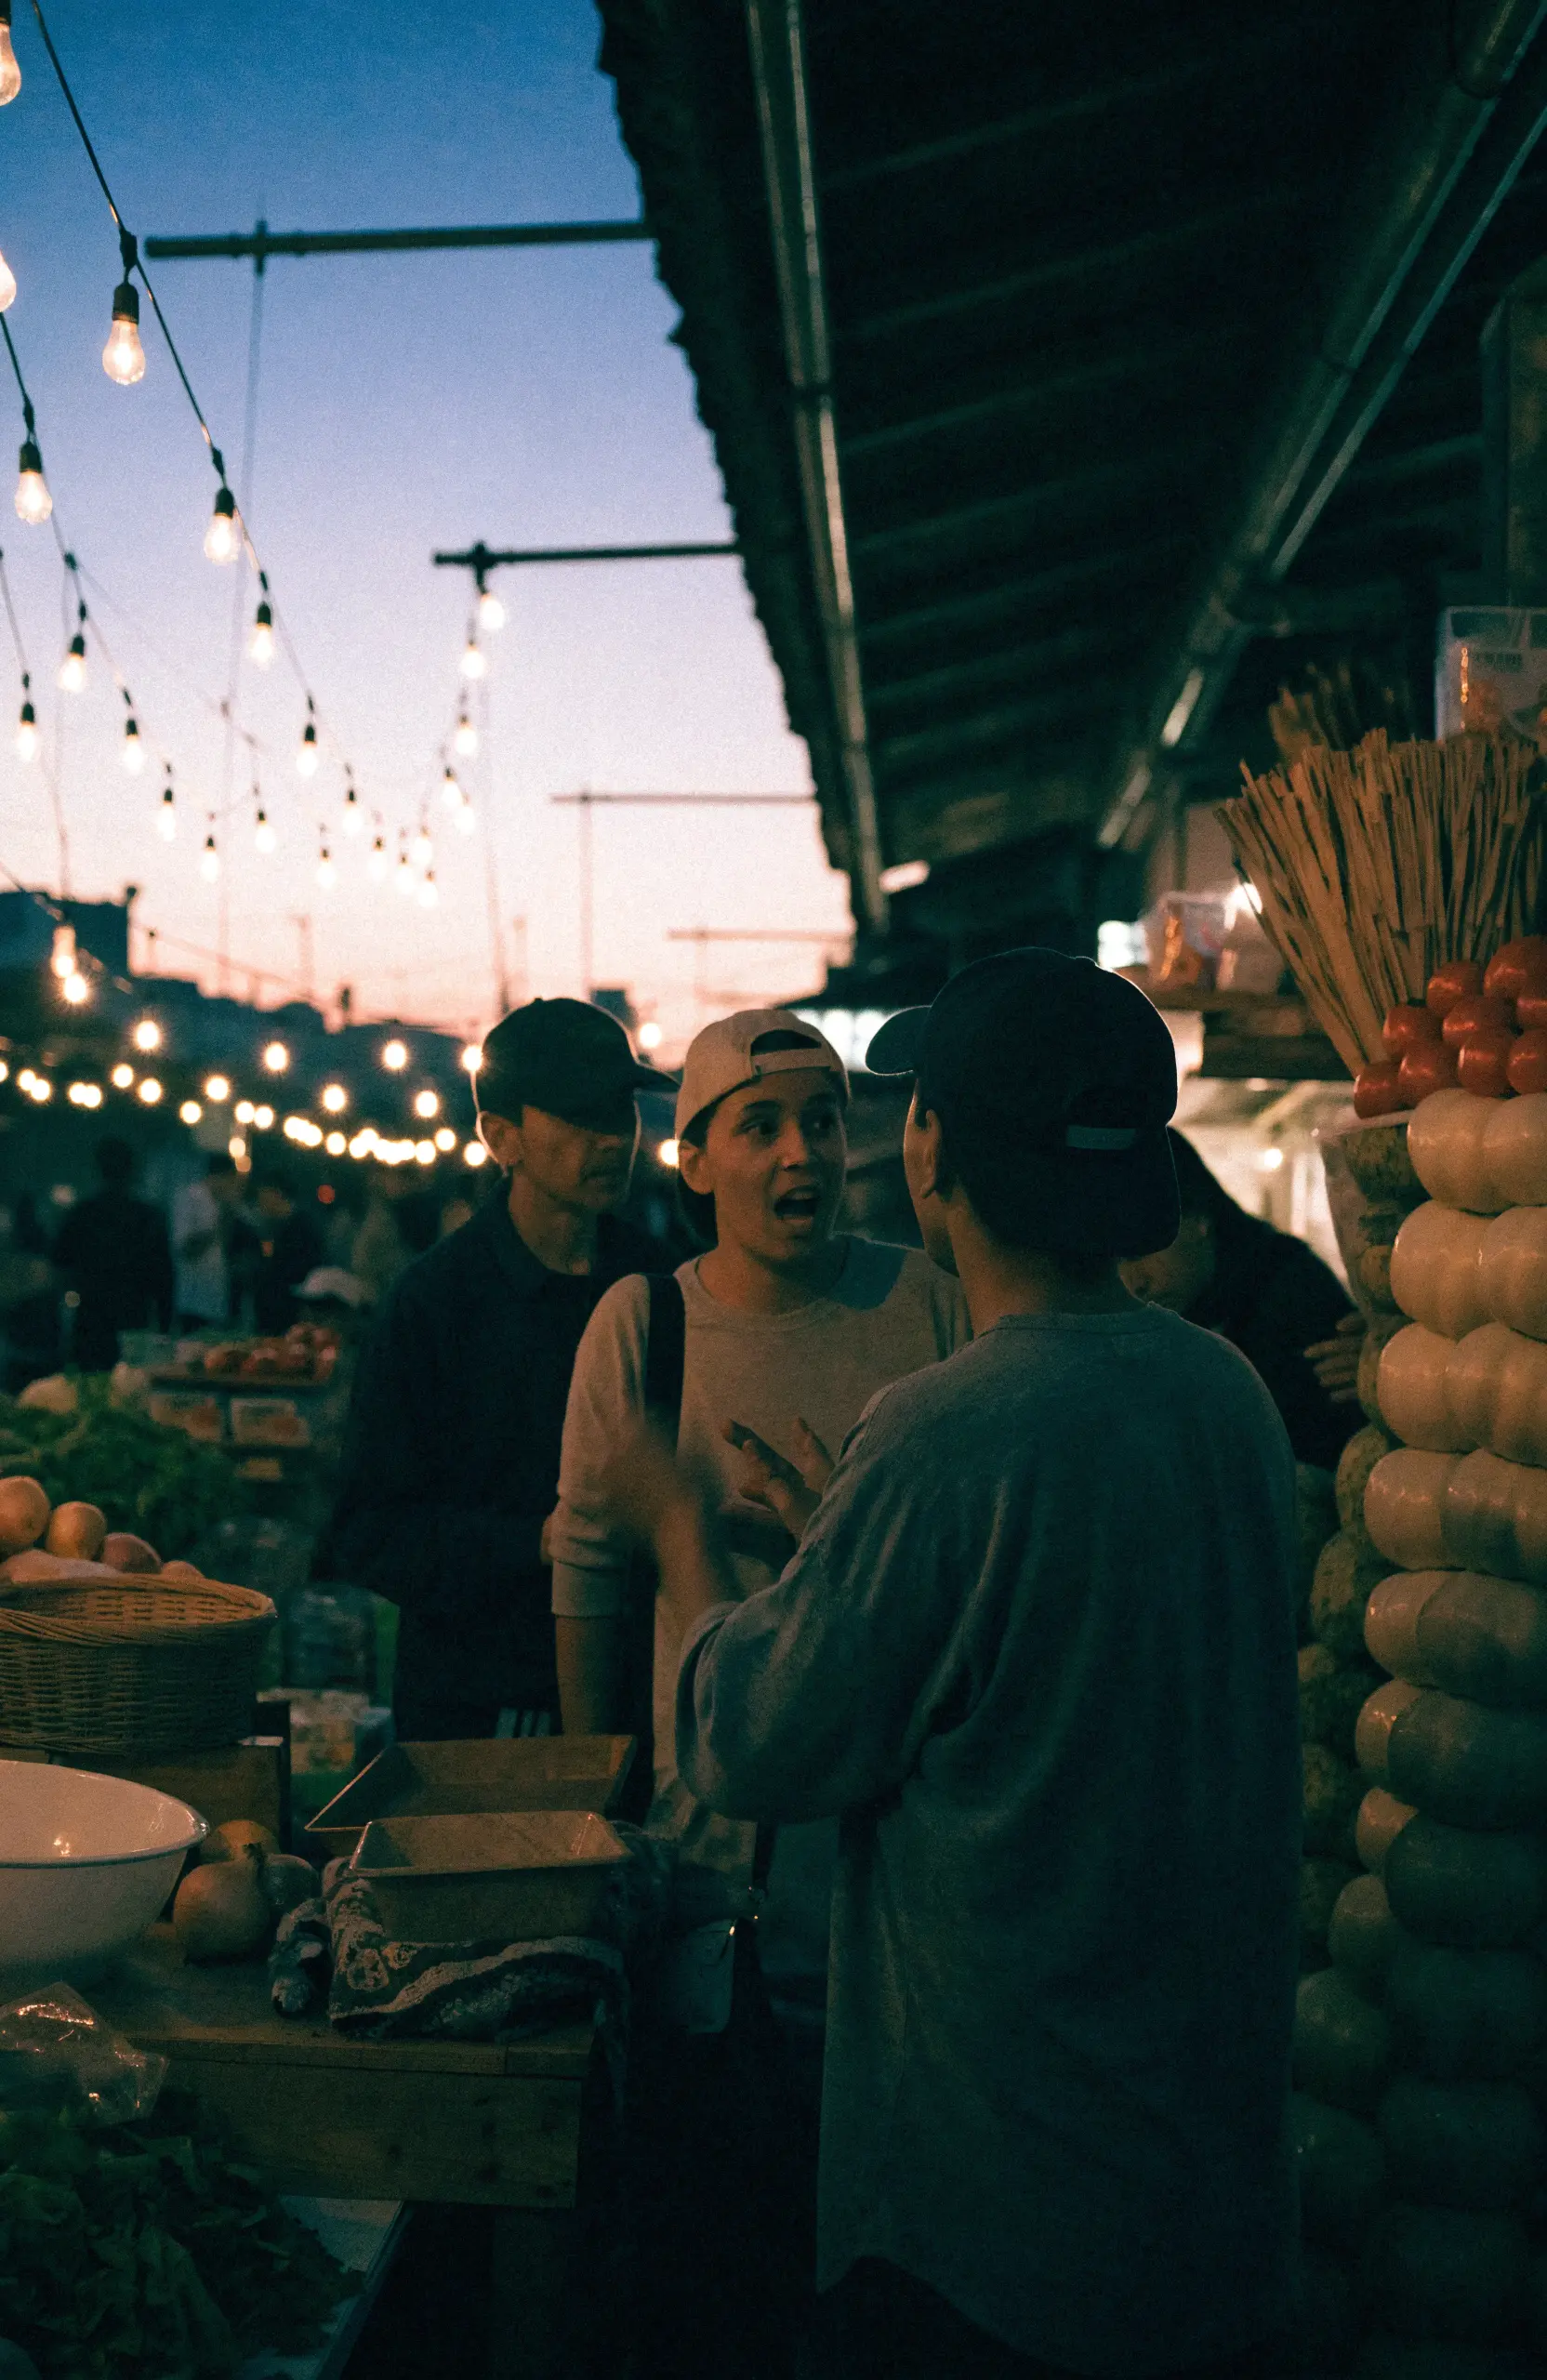
Here's one image, three ways. The original is an 832 × 1,280 generation from Recraft V4.1 Flash: grainy shadows, soft faces, and baskets and fabric that blur together. The middle panel is the same image after Crisp Upscale, and the right panel after Enhance.
The upscaled version looks almost identical to the original, and that's the point. Upscaling doesn't correct anything. It gives you more pixels, so the same image holds up on a poster or a large print instead of turning blocky, with the grain and soft faces carried over unchanged.
The enhanced version is where the image actually changes: cleaner shadows, a sharper weave in the baskets, and defined edges on the faces. Look closely and some of that detail is new, drawn by the model rather than recovered from the original.
Neither is wrong. They answer different questions.
What each one fixes
Problem
Image upscaler
Image enhancer
Resolution
Yes. This is its whole job.
Only if the tool also outputs at a larger size
Noise and grain
No. Noise gets enlarged with everything else.
Yes
Sharpness
Keeps edges crisp, but blur in the source stays
Yes, by redrawing detail
Color and contrast
No change
Often. Many enhancers raise contrast and rebalance color.
Faces
Kept exactly as they are
Redrawn, usually clearer; check the likeness
Changes the content?
No
Yes
The last row is the one that decides it. If the image has to stay exactly as it is, you want an upscaler. If it needs to look better than it does, you want an enhancer.
How to tell which one your photo needs
Open the photo at 100% zoom, where one image pixel fills one screen pixel, and look at it before you scale anything.
If it looks clean at 100% and only falls apart when you make it bigger, upscale it.
If it looks grainy, soft, or blotchy at 100%, enhance it. Upscaling will only make those problems larger.
If it looks rough at 100% and also needs to be bigger, enhance first, then upscale, or use a tool that does both in one step.
To check whether size is the problem at all, work back from where the image is going. Print is the demanding case: at 300 pixels per inch, a common print standard, an 8 × 10 inch print needs 2,400 × 3,000 pixels, or about 7.2 megapixels. Most images for the web need far less.
There's one case where you should avoid an enhancer even when the photo looks rough: when accuracy matters more than looks. A marketplace product photo, a document scan, or a portrait of a real person can all pick up details that weren't there, from label text that reads differently to a face that drifts from its owner's. For those, upscale and accept the limits of the source.
When you need both
Enhance first, then upscale. Upscaling first enlarges the noise and blur the enhancer then has to work around, and enhancing a larger file is slower and often costs more. Some enhancers also downscale big inputs before they start, so the extra pixels buy you nothing.
If you want one step instead of two, look for a tool that combines them. Recraft's Creative Upscale, below, is built for exactly that.
Upscaling and enhancing in Recraft
Recraft Studio keeps the two jobs separate, which matches the distinction above.
Upscale enlarges without redrawing anything. Recraft Crisp Upscale costs 1 credit per image. Topaz, an external model available in Recraft Studio, multiplies the size by ×2, ×3, or ×4 for 11 to 187 credits, depending on the factor and the source image.
Enhance regenerates the image with Recraft V4.1 Pro at that model's level of detail (2,048 × 2,048 for a square image) for 10 credits, keeping your composition and scene. Subtle stays close to the original, cleaning up noise and raising contrast. Moderate, the default, rebuilds small details more actively: anatomy, line consistency, and text readability.
Creative Upscale enhances and enlarges in one step, to 4 MP or 16 MP, for 20 credits.
Two limits worth knowing. Upscaling doesn't support transparency, so a transparent PNG comes back on a white background. Enhancement results vary by image, and photography and product scenes hold up more consistently than layouts heavy with typography.
When in doubt, start with the option that changes nothing: upscale, check the result at 100%, and reach for an enhancer only when the problem is in the pixels rather than the size. Try Recraft's image upscaler
FAQs
What is the difference between an image upscaler and an image enhancer?
An image upscaler adds pixels so the file can print or display larger. An image enhancer keeps the same width and height and changes how those pixels look: color, contrast, noise, and sharpness.
If the photo is too small for the job, you need an upscaler. If it is already the right size but looks unfinished, you need an enhancer. Many products run both under one button, which is why the names get mixed.
Do I need an image upscaler or an image enhancer?
Check size first. If the longest side is too small for web, print, or a marketplace spec, use an image upscaler. If the size is already enough, skip it.
Then look at 100 percent zoom. Dull color, noise, or haze is an enhancer job. You need both when the file is small and unfinished. You need neither when the original already meets size and look.
Can I upscale and enhance the same photo?
Yes. Denoise and grade at native size first, then upscale to the size you will ship, then sharpen last. Noise you leave in gets stretched into texture, and sharpening before denoise carves JPEG blocks.
Do not run a 4x pass on every export. Extra pixels without a size requirement only add file weight and invented detail.
Will an image enhancer increase resolution?
Not by itself. Enhancement edits existing pixels. Width and height stay the same unless the tool also upscales.
If a product page or print spec needs more pixels, that is an image upscaler. If you only need cleaner color and less noise at the current size, stay with enhancement.